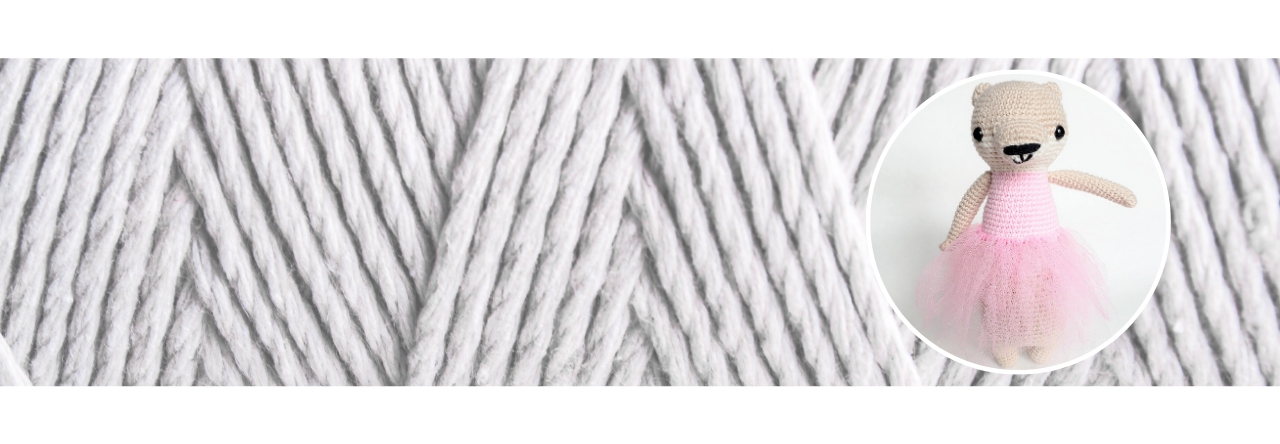

Personalizing my amigurumi is quickly becoming one of my favorite things to do. A good pattern is vital but once you get the basics down, you can start improvising and giving your toys unique features.
I did this recently with my polar bear. The original pattern called for a cowl and vest but my version received a skirt and bell sleeves. Here’s how you can add a simple skirt and bell sleeves to your own amigurumi!
The pattern for Hans the Bear is in “Animal Friends of Pica Pau” by Yan Schenkel so you’ll want to buy that. I promise you won’t be disappointed. Books are extremely cost effective considering a single pattern on Etsy might run you $5. For only $22, you get 20 patterns!
Pro tip: on these rounds where I’m going back and attaching yarn, I have already worked that round in the BACK LOOP ONLY. This leaves the front loop open to attach the yarn and start crocheting around. So unless your pattern calls for that round to be back loop only (BLO), you’ll need to think ahead.
The pattern of the body already calls for a round to be worked in the BLO. The arm does not, so I’ve worked round 19 of both arms in the BLO. This is very important!

Materials Needed
- Crochet hook size C/2.75mm (I use this one)
- Whatever yarn you’re using (I’m using Bernat Softee Baby Cotton in Cotton and Dusk Sky)
- A darning needle to weave in your ends
- Scissors
Skills Needed/Abbreviations
- double crochet stitch (dc)
- double crochet increase (dc inc): make two double crochets in one stitch
- slip stitch (sl st)
- chaining
- *repeat instructions within asterisks*
Skirt Pattern and Tutorial
Flip that bear upside down and attach the yarn to the first stitch, the front loop, of the BLO round.
How I attach yarn: make a slip knot on your hook. Draw the loop through the first stitch, leaving the knot on the other side.

Rnd 1: Chain 2. Starting in that first stitch where you attached the yarn, *1 dc, 1 dc inc* 20 times (60 stitches total). Join to first double crochet made with sl st. (Join with new color if you’re creating stripes like I did.)
Rnd 2: Chain 2. *1 dc, 1 dc inc* 30 times (90). Join to first double crochet made with sl st. (Change colors if you’re creating stripes like I did).
Rnd 3: Chain 2. Dc around (90). Join to first double crochet made with sl st.
Cut yarn and weave in the ends.

Bell Sleeves Tutorial
Again, flip your arm upside down and attach your yarn to what is technically the LAST stitch of the round you worked in the BLO. The body of the bear was worked from top to bottom and the arm was worked from bottom to top. So we’re going in the opposite direction of how you worked the arm. It matters because you’re working in the round: the front and back of your stitches will look different.

Rnd 1: Chain 2. Starting in that first stitch where you attached the yarn, *1 dc, 1 dc inc* 6 times (18 stitches total). Join to first dc you made with a sl st.
Rnd 2: Chain 2. Dc around, starting in the stitch where you just joined (18). Join to first dc.
That’s it! Cut the yarn and weave in the ends.


Finished! An easy Colorado applique tutorial is coming soon!


1 Pingback