
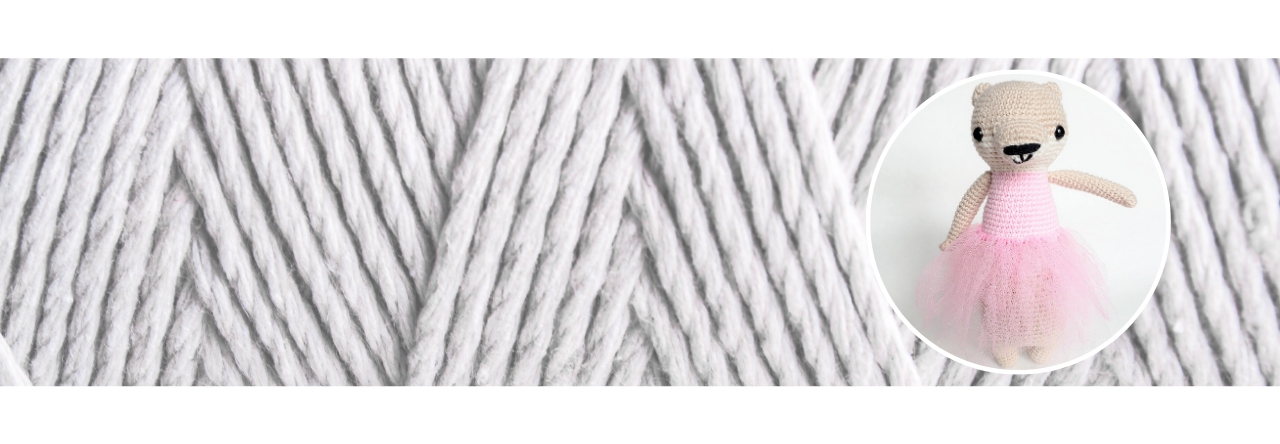

I recently released my first amigurumi pattern into the universe: a happy, textured pineapple. The experience of pattern-writing and the work it entails was certainly eye-opening. Crochet designers put a LOT of time and energy into their patterns; so much is trial and error, ripping out what you’ve done and trying again. Then when you get your prototype done and your first draft of instructions written, you do it AGAIN to test whether you wrote it down correctly the first (or seventh) time. And if you’re including step-by-step pictures you’ll need to take those during your tests which means you need good lighting and a healthy chunk of time, etc. It’s a lot!
But don’t get overwhelmed! Below are three tips for pattern-writing newbies from a recent newbie herself who emerged on the other side.
Pattern-writing tip #1:
Persevere because it gets easier
This is my most important bit of advice. The first pattern is the hardest so if you can get through your first attempt without giving up, you’re going to be golden. Once you get your template in place, the process becomes exponentially easier because you’re not starting from absolute scratch. You have to put in the hard work first, just like anything else. Trying new things can be hard but if others can do it, you can too!
And you know what? If you get through your first pattern and decide never again, that’s OK! You did something hard, came out the other side and have something to show for it. Your hard work will be there for you in the future and future you will thank present you.
Pattern-writing tip #2:
Get your pattern tested
Good patterns are tested by other crocheters for readability, clarity and of course, whether you actually end up with the product sold. You spend so much time in your own pattern and your own way of doing things that you may become blind to little inconsistencies – and little inconsistencies can turn into big mistakes!
Testers double-check your stitch counts, your number of rounds and your directions. They will find omissions you never thought to include and ask you to explain concepts you may have thought obvious but in fact aren’t. Testers will ask the questions that must be addressed before your pattern goes live – you don’t want questions coming from people who buy your patterns if you can avoid it.
I found my testers through a Facebook group called Pattern Testers and a call-out on my Instagram. Testers usually aren’t paid but it’s standard practice to gift your testers with your finished pattern.
Pattern-writing tip #3:
Go overboard on pictures
I really don’t think you can have too many pictures in your pattern. Crocheters want to know they’re on the right track and have done it correctly. You as the pattern-writer don’t want them to have any questions. They shouldn’t read a line and think, gosh, I hope I’m doing this right but I’m just not sure. Pictures give assurance and help your readers trust you. Visit my crochet Easter egg post for an example of step-by-step photos.
With that said, be sure to include a printable version of your pattern without the pictures. Though pictures help many, not everyone needs them so I think it’s nice to have the option of saving ink.
Additional Resources
Now that you have some tips on getting started, here are some additional resources you’ll want to check out from the Craft Yarn Council:
Crochet abbreviations and terms are standardized and must be written in a certain way.
This is a helpful guideline on how to assess the difficulty of your project.
I’d love to hear your tips for pattern-writing if you are in that space and want to share!

Leave a Reply